
Last updated November 14, 2026
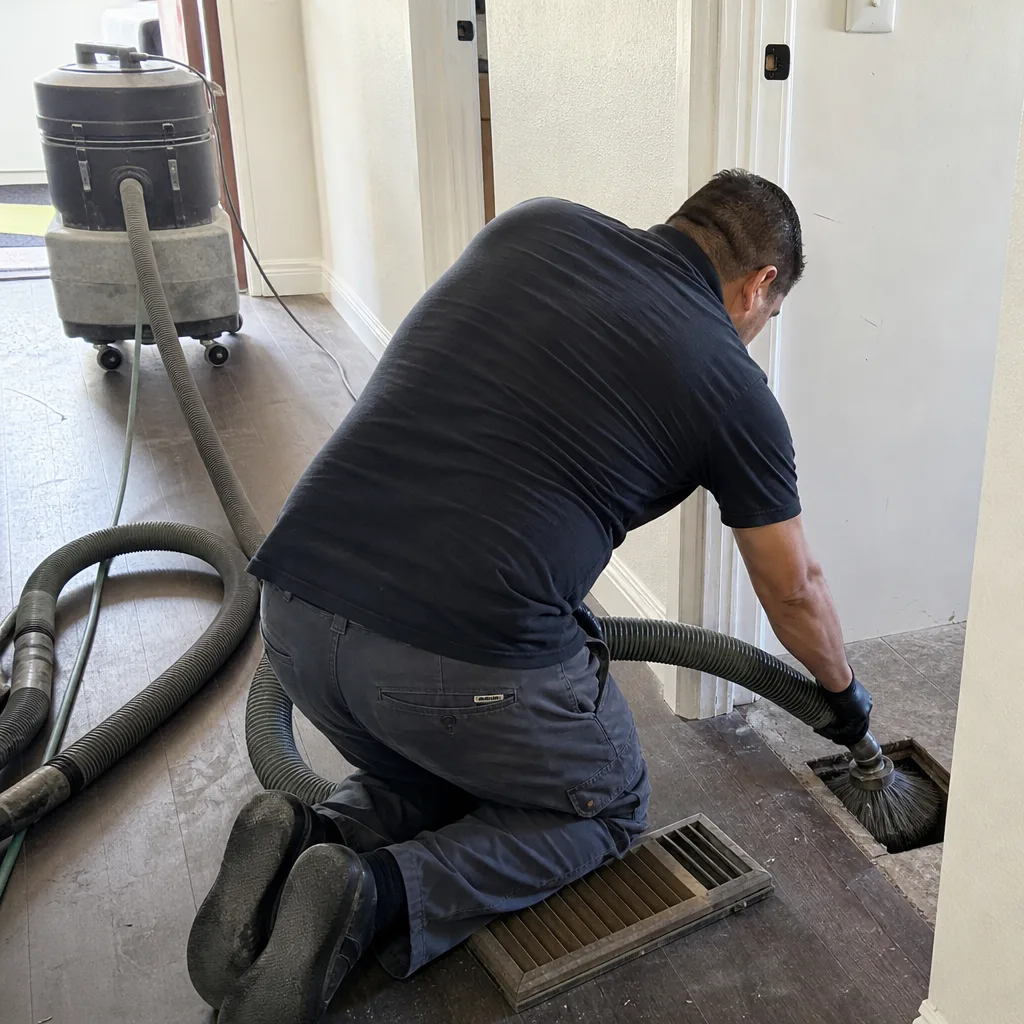
 Whole-home duct cleaning
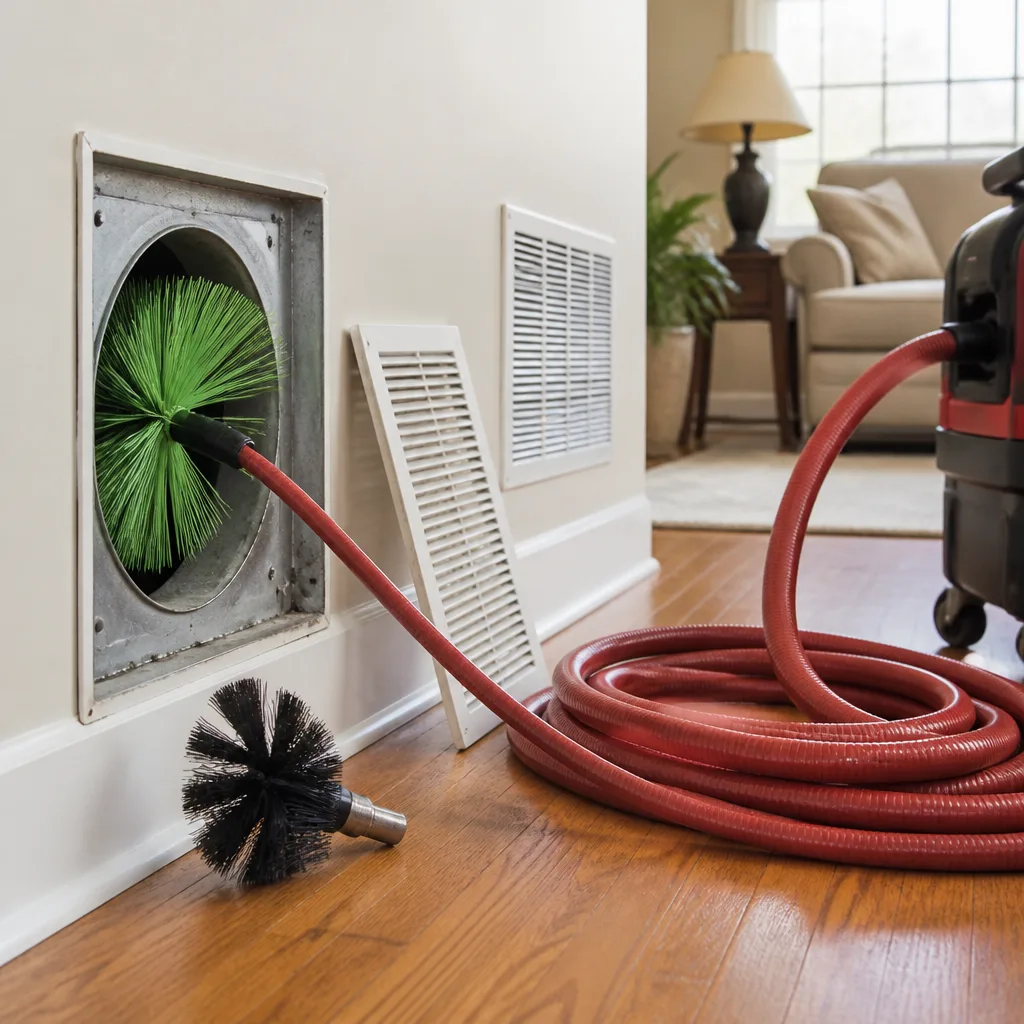
 Dryer vent cleaning
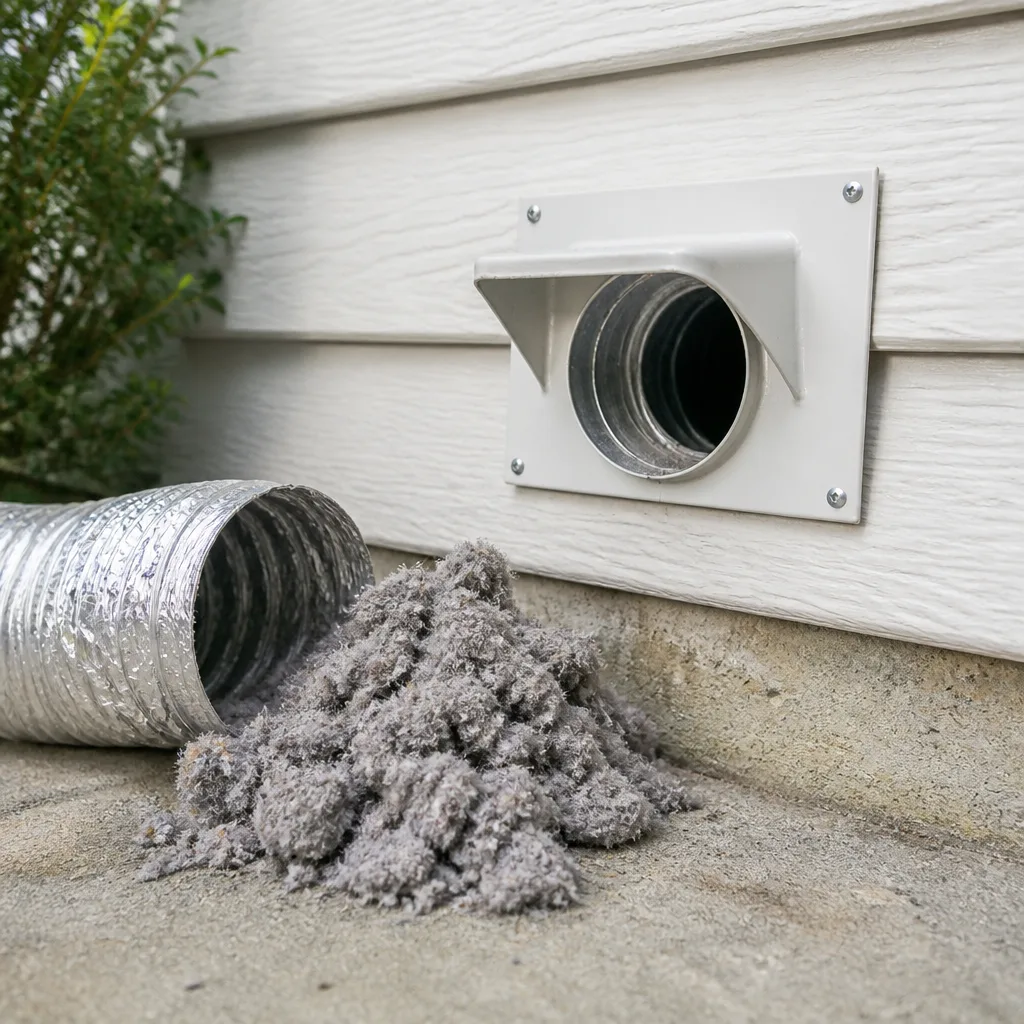
 Camera inspection
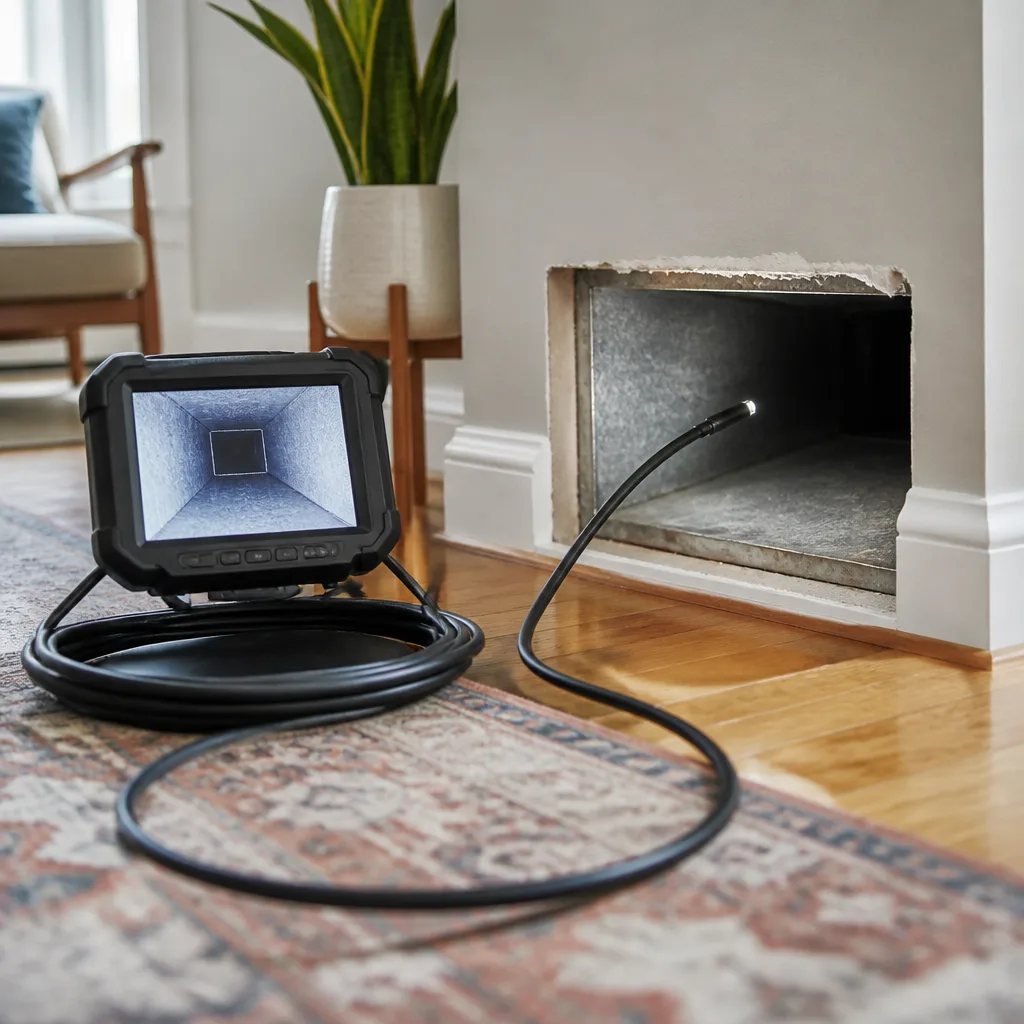
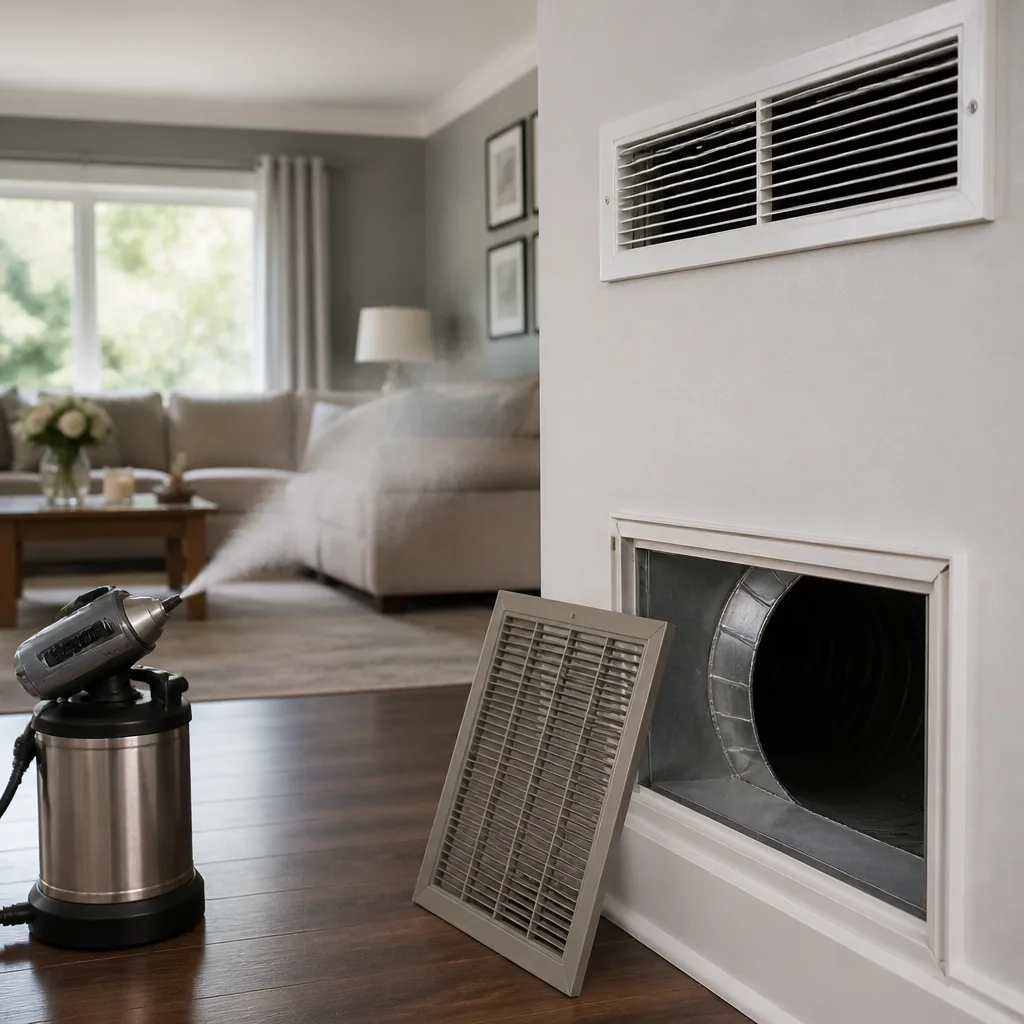 Sanitizing & deodorizing
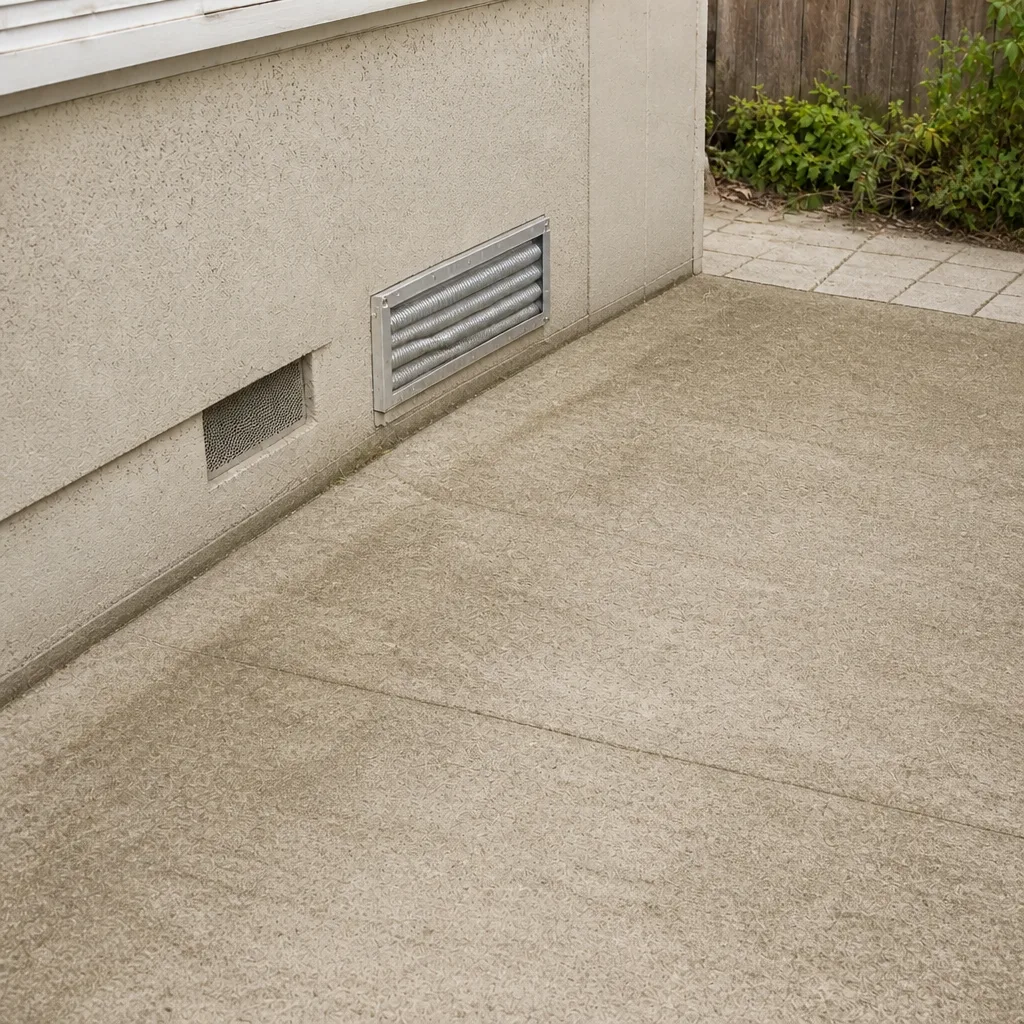
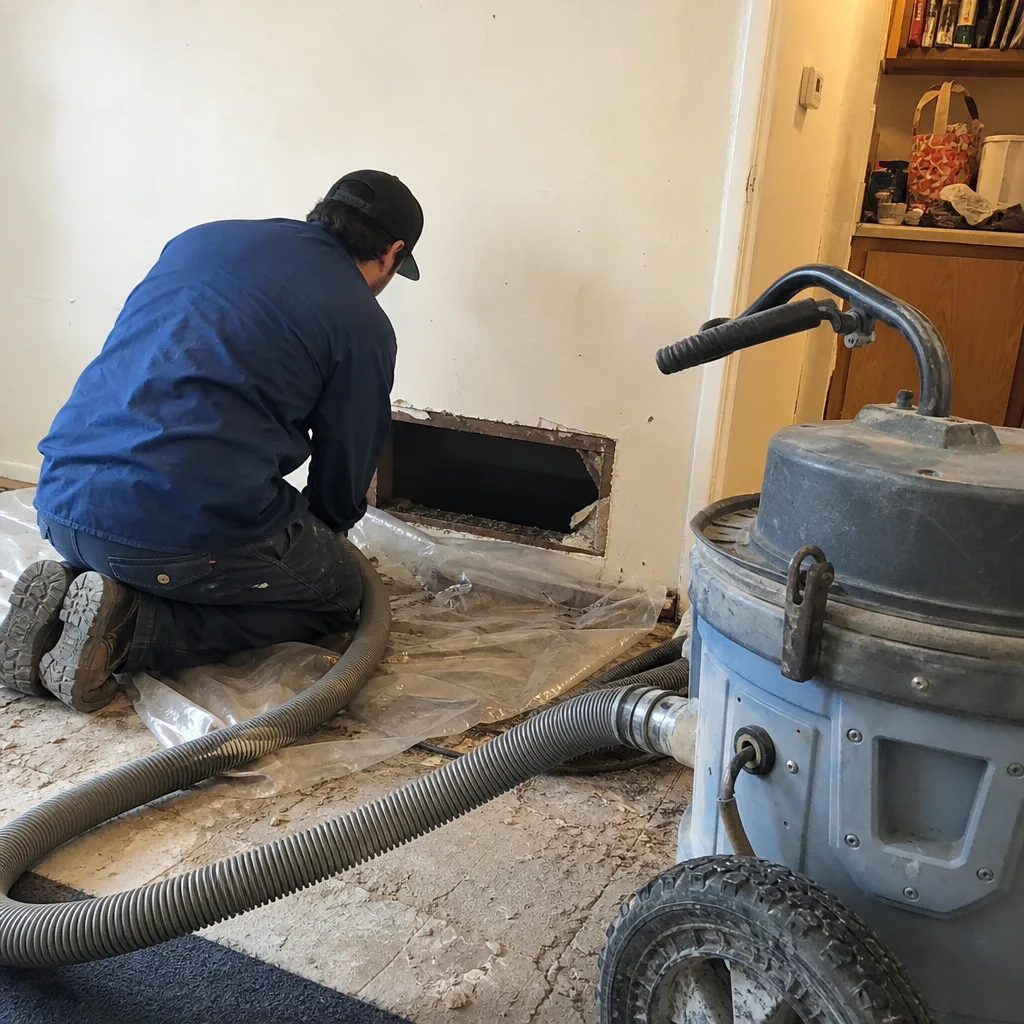
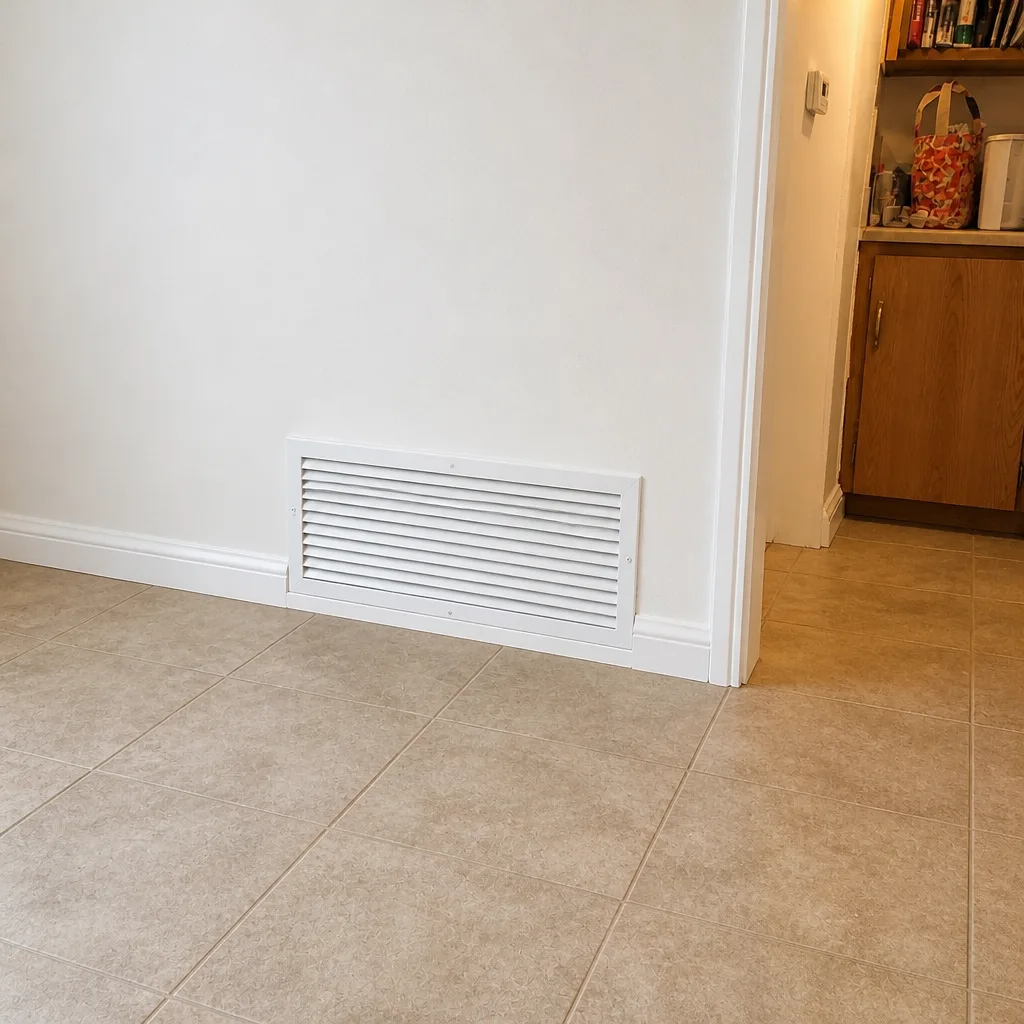
Whole-system duct and dryer vent check with before-and-after photos - you see exactly what came out of your vents
That "$99 whole-house special" is a bait ad - the real number appears once they are in your hallway, or the "clean" is a shop-vac at the register. We photograph the inside of your ducts before and after instead.
Air Duct Cleaning Warning Signs: A Salinas Homeowner’s Reference Guide
Visible dust on your vents means the problem has been building for months. The real warning signs appear long before that, and most homeowners don’t know what they’re looking at. We’ve walked into Salinas homes where the registers looked clean enough, but the filter was barely seated in its slot or one room ran seven degrees cooler than the rest and had done so for two heating seasons. Those are the early indicators that a duct system is losing its seal or has started pulling contaminated air into the supply path. This guide walks you through the subtle signals most homeowners miss, how to read airflow and filter behavior, what odors actually mean, and when the situation calls for professional-grade equipment rather than a shop vac.
Quick Answer
The earliest air duct warning signs are uneven room temperatures that shift seasonally, a filter that loads unevenly or skips the edges of its frame, musty or sharp odors that appear only when the system runs, and allergy symptoms that cluster in one room. These indicators show that the duct system is losing air or drawing contaminants before visible dust or heavy buildup appears.
Styles & brands we work with
- Whole-home duct cleaning
- Dryer vent cleaning
- Camera inspection
- Sanitizing & deodorizing
Table of Contents
- Why Uneven Room Temperatures Signal a Duct Problem
- Filter Bypass vs. Normal Filter Loading
- What Three Odor Types Tell You About Your Ducts
- Symptoms Clustered in One Room: How to Trace a Single Duct Run
- Condensation on Supply Registers in Salinas Homes
- A Four-Step Homeowner Inspection You Can Do This Weekend
- Early Warning Signs vs. Late-Stage Red Flags
- When Duct Repair Comes Before Cleaning
Why Uneven Room Temperatures Signal a Duct Problem
A room that runs consistently cooler or warmer than the rest of the house is one of the earliest signs of a duct problem, but most homeowners blame HVAC sizing first. Sizing issues do cause temperature variation, but they produce it evenly across the whole season. Duct problems show up as changes: a room that used to match the rest of the house and now runs three or four degrees off, or temperature swings that get worse over summer.
Pay attention to which direction the imbalance runs. A room that’s always cold in summer points to a supply run with a leak that’s dumping cooled air into the attic before it reaches the register. A room that’s cold in winter but fine in summer points in the other direction: the return side isn’t pulling enough warm air back to the furnace, so that room gets starved. In Salinas, where most homes rely on the furnace for maybe six weeks of the year and the AC runs through the long warm season, the summer cooling signal is usually the clearer one. If you notice the same room underperforming two summers in a row, that’s a pattern worth investigating.
Listen for airflow changes at the register itself. Hold your hand a few inches away. You should feel a steady, strong push. Weak push or a push that surges and drops is a sign that the trunk line feeding that register has a leak, a partial obstruction, or loose tape at a joint. In homes we visit across Salinas, especially older stock where the ducts run through an unconditioned crawlspace or attic, the tape-and-mastic joints are the first thing to fail. A flashlight walk-through of the accessible duct runs, done safely from the ground, will usually show you where the tape has dried and curled.
Uneven airflow is early-stage because it develops before contamination accumulates. Leaking supply ducts pull air from wherever they sit: an attic, a crawlspace, or a wall cavity. Unless that air is filtered, it brings dust and whatever else rides along into the living space. Salinas sits in the Salinas Valley, where agricultural dust and soil from surrounding fields move through the air most of the year, and the local climate barely dips below freezing. That combination means duct joints don’t get tested by heating and cooling extremes; they degrade slowly, and the early temperature signal is often the first thing a homeowner can actually notice.
Filter Bypass vs. Normal Filter Loading
Every furnace filter loads. That’s normal: dust collects evenly across the filter face as air passes through. Filter bypass is different. Bypass means unfiltered air is finding a way around the filter, through a loose slot, a gap at the frame, or a return duct that isn’t sealed to the furnace cabinet. It’s an early warning that duct seals or fit have failed, and it’s almost invisible unless you know what to look for.
Here’s the difference:
- Normal filter loading: Dust builds evenly across the whole filter surface, edge to edge. The frame stays snug. There’s a slight darkening in the center from airflow, but the perimeter is covered.
- Filter bypass: The filter loads heavily in one spot but stays clean at the edges. There’s a visible gap between the filter and its slot. Dust streaks along the side of the frame or on the blower housing downstream. Alternatively, the filter looks barely used after weeks of running, meaning air is going around it and the filter never sees the load.
The filter slot itself is the tell. Pull the filter, hold a flashlight into the slot, and look at the sides. If the sides are coated with dust, air has been moving past the filter frame. That’s bypass. It means the filter is protecting the blower and coil only partially, and the ducts downstream of the furnace are getting a share of the unfiltered air. Over a season, that builds up as visible debris inside the trunk lines.
Filter bypass gets worse when the fit degrades. Sheet metal cabinets can warp slightly with heat cycles. Filter frames get bent during a change. A filter that was a snug fit two years ago can rattle loose. If you’re finding the filter sitting crooked in its slot, or the cover doesn’t sit flush, that’s an early structural signal worth flagging for a professional look. Duct repair can reseat the filter cabinet and seal the gap properly. Without that, a brand-new filter never gets a chance to do its job.
One more filter note specific to Salinas: because the valley captures agricultural dust, homeowners here often upgrade to a higher-MERV filter to catch finer particles. That’s a sensible move, but the higher the MERV, the more pressure-drop the filter adds. A slightly bypassing filter cabinet that worked fine with a cheap fiberglass filter will bypass more noticeably with a medium-MERV pleated one, because the airflow finds the path of least resistance around the media. If you upgraded your filter recently and noticed the temperature imbalance get worse, bypass is the likely culprit, not the filter itself.
What Three Odor Types Tell You About Your Ducts
Odor is one of the most diagnostic early warnings in a duct system, because different smells point to different problems and different urgency levels. A single sniff test through a supply register, done with the system running, tells you more about the state of the return air and the interior duct surface than a visual inspection usually does. Here’s how to read each type:
Musty or Earthy
A musty smell in the supply air is the most common odor complaint we hear, and it usually points to moisture and biological growth somewhere in the duct path. That growth could be in the duct interior, on the evaporator coil, in a wet filter, or in the condensate pan. Musty isn’t an emergency, but it’s a signal that the moisture source needs identifying before the growth spreads. Mold remediation is a bigger scope than a routine clean, which is why equipment matters: Abatement Technologies air filtration is used in the cleaning process to keep disturbed particles contained, and it’s the same category of tools used in remediation environments. A shop vac pulls as much dust into the room as it captures. HEPA-grade containment doesn’t.
Burnt or Smoke
A burnt smell coming through registers requires immediate professional response. It can mean the blower motor is overheating, an electrical component is failing, or the heat exchanger has a problem. Shut the system down and have it inspected before running it again. Do not run the furnace or AC hoping the smell clears; a burnt odor in the supply air is a safety signal, not an early maintenance reminder.
Chemical or Plastic
A sharp chemical smell, sometimes described as plastic or hot vinyl, often points to a new component breaking in, an off-gassing issue, or an electrical fault in the air handler. New construction and recent duct repair can cause a mild chemical smell for a short period, but a chemical odor that persists past a few weeks or that appears in a home that hasn’t had recent work done needs investigation. Identify the source before continuing to operate the system.
If your home has a whole-home air quality system, the odor diagnosis gets more layered. The company technicians work on Honeywell and Aprilaire systems, and understanding how those systems handle filtration, humidity, and ventilation matters when you’re chasing an odor through the ductwork. A musty smell with a Honeywell system might trace to a humidifier pad rather than the ducts. A chemical smell might trace to a UV component. The point is to diagnose the whole air quality setup, not just the ducts in isolation.
Symptoms Clustered in One Room: How to Trace a Single Duct Run
Increased allergy or respiratory symptoms in one specific room usually maps to a problem in a single duct run serving that room. This pattern gets missed because symptoms are fuzzy; a runny nose in the bedroom isn’t obviously tied to a supply duct in the ceiling. But when two people in a household both report symptoms that are worse in the same room, that’s a traceable clue.
The trace follows the connection between a supply register and the duct run that feeds it. Here’s the process:
- Confirm the pattern. Take an honest week and note when symptoms appear. If it’s most days in the same bedroom, and not in the living room or kitchen, you have a candidate room. If symptoms move around or follow the season rather than the room, look at whole-house air filtration first.
- Isolate the register. With the system running, hold a sheet of thin tissue against that room’s supply grille. Measure the airflow against a register in a room where symptoms aren’t reported. Uneven, wandering, or weak airflow in the symptom room points to a supply run problem. Strong flow with symptoms still present points elsewhere.
- Check the floor or wall around the register. Run a finger along the edge of the grille. A dark ring or fine debris streak means the supply run is delivering debris into the room, likely from a leak pulling in unfiltered air upstream.
- Inspect the nearest accessible duct section. If the supply run is visible in a basement, crawlspace, or attic, look at the joints and the connector boots. Loose tape, disconnected flexible duct, or torn insulation all show up here.
- Note the register’s location in the duct design. The last supply run on a trunk line gets the weakest airflow and the least protection. Bedrooms at the far end of a run are common symptom rooms for exactly this reason.
When we investigate a symptom room across a Salinas home, the fix usually falls into one of three categories: resealing a joint that lost its seal, repairing a run that has sagged and lost airflow, or cleaning the run and the terminal boot where debris has accumulated at the register. Duct repair and cleaning often happen together, which is why having both available matters. In our experience, the single-run repair is one of the more common duct jobs in older homes around South Salinas and the Alisal area, where the original ductwork has been through several heating and cooling cycles without resealing.
Condensation on Supply Registers in Salinas Homes
Water on a supply register is an early structural warning, not a fussy detail. When a cooled supply duct leaks cold air into a warm, humid space, moisture condenses on the cold surface. That happens at the register face, at a duct joint, or anywhere the supply line runs through an unconditioned space. It looks like a light sheen of water or small beads of water on the metal grille. In some cases you’ll see water dripping onto the drywall below the register, or a damp ring around the register face.
Salinas homes deal with this for two reasons. First, the summer cooling season runs long, so the supply ducts are cold for a large part of the year. Second, the marine-influenced humidity that rolls into the valley most mornings raises the dew point in unconditioned spaces. Those two factors together mean a small duct leak that would stay dry in a colder climate produces visible condensation in Salinas. Water on the register is the first visible sign that a supply line is dumping cold air where it shouldn’t.
The condensation itself is only part of the problem. Where there is consistent moisture, there will be microbial growth. A wet duct interior or a wet grille surface begins to support mold and bacteria, and the supply air then delivers those particles into the room. That’s why condensation converts an airflow problem into an air quality problem. Left alone, it can turn into a remediation scope.
If you see condensation on a register, check for two things before calling. First, look for fogging or condensation on any visible ducting in the attic or crawlspace during a hot afternoon. Second, note whether the condensation disappears in dry weather. If it’s seasonal, the duct leak is likely the cause and resealing addresses it. If it persists year-round, the condensate system or the coil may need checking as well. In either case, the moisture needs to be treated as an early warning. A professional inspection should follow before the growth spreads. Our drying climate in Salinas gives you a natural window to fix the leak: get it resealed before the next warm season begins, and you prevent the moisture problem from starting over.
A Four-Step Homeowner Inspection You Can Do This Weekend
This is a visual and airflow check you can run without tools beyond a flashlight and a tissue. It’s not a substitute for a professional inspection, but it will tell you which warning signs your system is showing.
- Filter slot and frame. Pull the filter, hold a flashlight into the slot, look for dust on the sides and gaps at the filter edges. Look for a crooked filter, a bent cover, or a slot that doesn’t seal. Compare the filter’s loading pattern to the edge-to-edge test above.
- Register airflow across three rooms. With the system running and the door to each room closed, hold a tissue against the supply grille in the primary bedroom, the living room, and the room that always feels wrong. Note the strength and consistency. Weak or surging flow in one room flags that run.
- Odor sweep. Walk to a supply register in each major room and sniff. Note any musty, burnt, or chemical smell. A burnt smell stops the inspection: that’s a call to a professional now. A musty smell is a candidate for cleaning and investigation.
- Condensation and debris check. Look at each register face for water, a damp ring on the drywall, or dark debris streaks. Check the floor around each register for a fine dark dust trail. Then look at any visible ducting (attic, crawlspace, or basement) for loose tape, sagging runs, or disconnected sections, standing on the floor and using the flashlight from a distance.
Write down what you see. That list becomes the conversation you have with a professional. It also gives you a baseline to check against in six months. If a register that was strong now reads weak, you’ve caught the change early.
Early Warning Signs vs. Late-Stage Red Flags
The signs most homeowners are told to watch for are late-stage indicators. Visible dust on registers, heavy debris on return grilles, and a system that smells bad at every register mean the problem has been developing for months. The earlier signals are quieter. Here’s the side-by-side comparison:
- Early: One room runs a few degrees off, and it started recently. Late: Multiple rooms run off consistently, and the pattern doesn’t change season to season.
- Early: The filter loads unevenly or bypasses at the frame. Late: The filter is fully clogged within weeks, or the blower housing is coated.
- Early: Faint musty smell when the system first kicks on. Late: Strong odor at every register, persisting through the whole cycle.
- Early: Allergy symptoms mostly in one room. Late: Symptoms throughout the house, worse during cooling season.
- Early: Small condensation spots on one register. Late: Standing water, visible microbial growth, or water damage to drywall.
The distinction matters because the cost and scope of professional work differ. Early indicators usually point to resealing, a targeted run repair, and a clean of the affected sections. Late-stage indicators point to a full-system clean, possible remediation, and repair of water-damaged ductwork. Caught at the early signals, you’re looking at a smaller job. Caught at the late stage, you’re looking at remediation-level scopes. That gap is the whole argument for reading the subtle signs.
One more early indicator that’s easy to miss: an uptick in how often the system runs. If the furnace or AC seems to cycle more than usual, or the house doesn’t hold its temperature between cycles, that’s a signal that the system is losing conditioned air somewhere in the duct path. It’s an early indicator because the loss comes before visible buildup. It’s worth checking before a service call to the HVAC side of the system, because resealing a duct leak can fix the symptom without touching the equipment.
When Duct Repair Comes Before Cleaning
A common blind spot in this trade: cleaning around a broken duct is time wasted. If the goal is to send clean air through a clean system, you first need the system to hold its air. Loose joints, disconnected flexible duct, and collapsed runs need to be sealed or repaired before cleaning makes sense. Otherwise the clean doesn’t last: the same leak that let contaminants into the duct path before the cleaning pulls them in again afterward.
This is where equipment choice matters. Professional-grade Rotobrush and Nikro systems are built for the kind of thorough extraction and brush work that reaches the inside duct surfaces, rather than a consumer shop-vac that pulls surface dust from the nearest accessible opening. Guardsman-line products handle surface protection and finishing after extraction, which matters when you’re on the repair side of the job rather than just the cleaning side. The tools weren’t chosen for the sales pitch; they’re chosen because repair and cleaning happen in the same visit. That saves you from getting a clean report from one company and a repair scope from another that then has to be cleaned again.
The same logic applies to the dryer vent. Lint buildup in the dryer vent is a leading cause of residential dryer fires, and it’s not an upsell: it’s a fire-safety service. A dryer vent that has collapsed, sagged, or lost its exterior termination needs repair as well as cleaning. Running a brush through a vent that’s already disconnected from the outside serves nobody. Duct Cleaning Salinas handles air duct cleaning, dryer vent cleaning, and air duct repair under one roof, so any of those needs found during service can be addressed in the same visit. That combination, repair and cleaning together, is what makes the work last. Cleaning alone on a compromised system buys you a few months before the problem starts over.
Common Mistakes to Avoid
- Blaming the HVAC sizing for a temperature imbalance. Sizing issues produce a consistent, whole-house pattern. A duct leak produces a change over time in one room. Take note of when the imbalance started before assuming equipment size.
- Ignoring a burnt odor. A burnt or smoke smell in the supply air is a stop-and-call situation. Don’t wait for the next service season and don’t run the system to see if the smell clears.
- Upgrading the filter without checking the slot. A higher-MERV filter in a bypassing cabinet doesn’t filter more; it filters around the frame more. Fix the fit first, then upgrade.
- Hiring a company with only a shop vac. A consumer-grade vacuum pulls dust into the room. Cleaning without containment just redistributes the problem across the home. Ask about filtration equipment before booking, and ask specifically what the technician uses.
- Cleaning without repairing. A clean system with the same leak will refill with the same contaminants. Ask whether the company can repair joints and disconnected runs in the same visit, or whether you’ll need a second company for repair after cleaning.
- Treating dryer vent cleaning as optional. Lint buildup in dryer vents is a recognized fire hazard, not a routine maintenance upgrade. It belongs on the same list as the duct cleaning, not on a “nice to have” list.
- Skipping the register condensation check. In Salinas homes, small drips on a supply grille are the first sign of a duct leak. A damp ring on drywall is an early warning, not a cosmetic problem.
See the difference
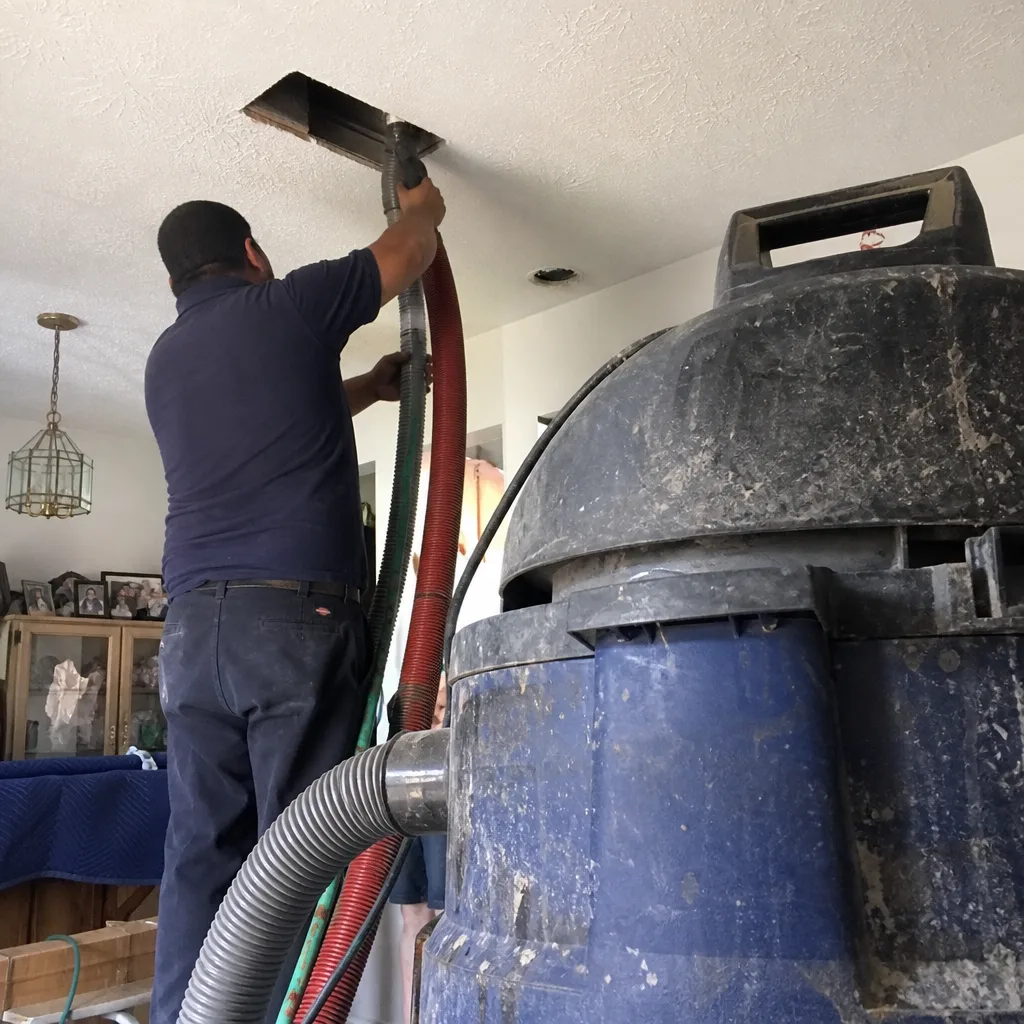 Before
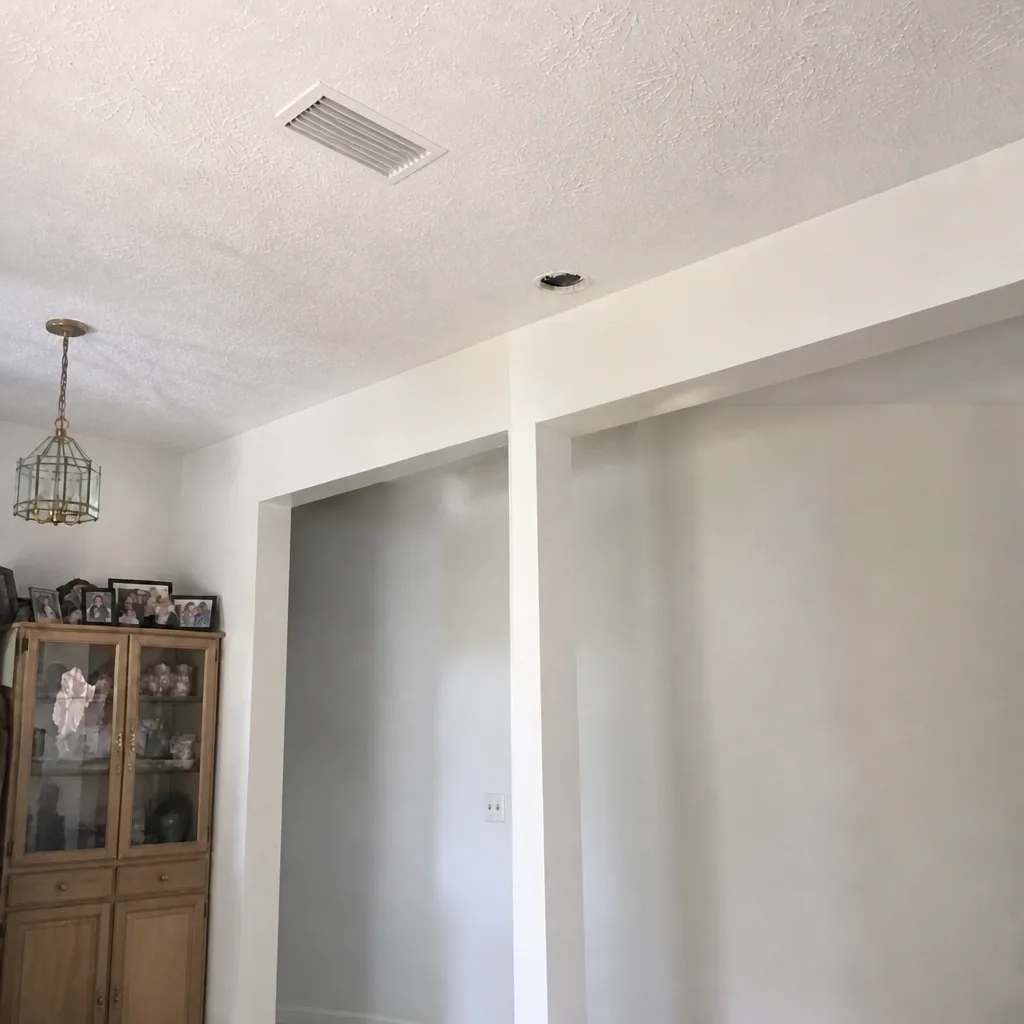 After
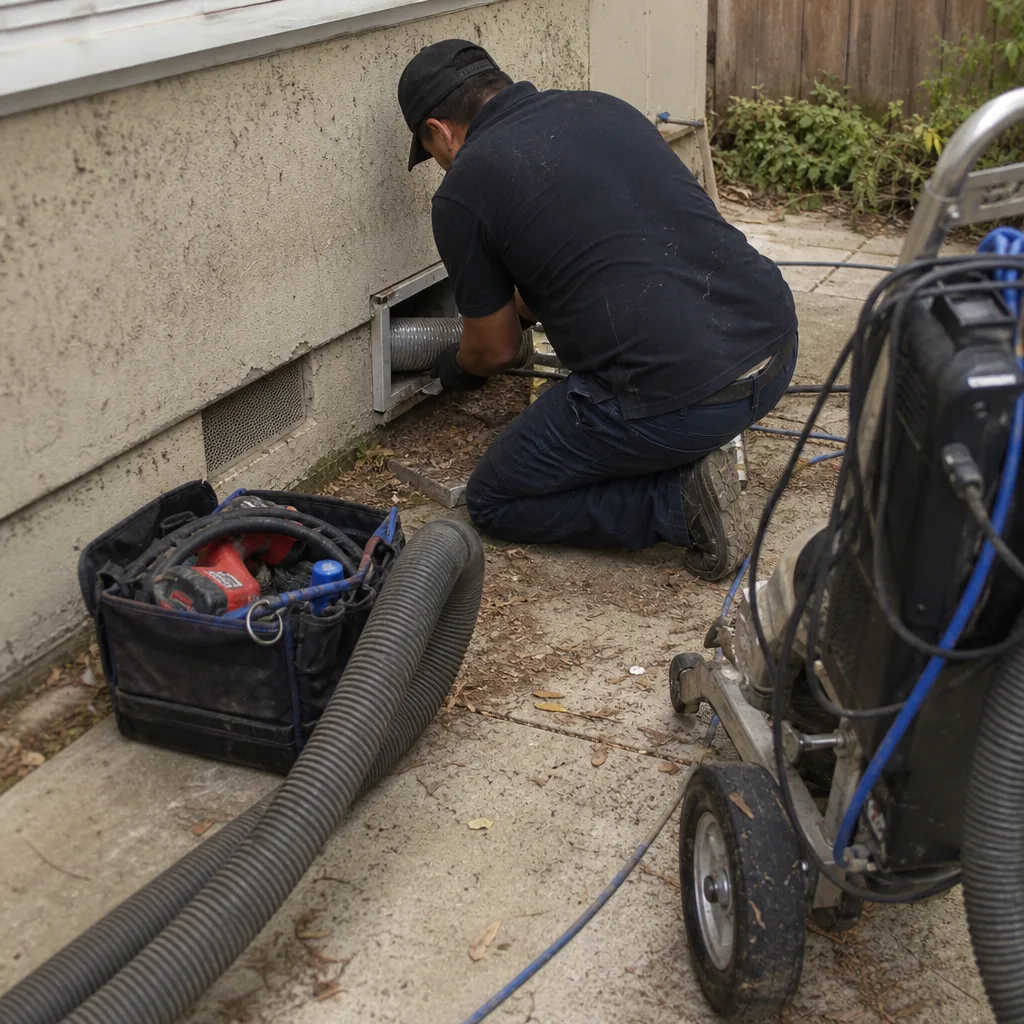 Before
 After
 Before
 After
When to Call a Professional
Call a professional if you’ve found any of the following: a burnt odor in the supply air; condensation on a register that returns each warm season; a filter that bypasses or won’t sit snug; one room that has drifted off the rest of the house and stayed off; allergy symptoms clustered in a single room; or visible duct damage like a disconnected section or a collapsed run. Any one of those on its own is worth an inspection, and more than one together is a pattern that’s already developing. A professional can tell you whether the issue is a clean, a repair, or both, and what the duct system will look like after each. Duct Cleaning Salinas offers free estimates in Salinas. Call (855) 360-8094. We answer 24/7. Fast dispatch from 7am to 7pm, Sunday through Friday.
Frequently Asked Questions
The clearest early indicators are uneven temperatures in one room that have changed over time, a filter that loads unevenly or bypasses its frame, musty odors that appear when the system runs, and symptoms clustered in a single room. Visible dust on registers is a later sign and means buildup has been happening for months. Once you see any of the early signals, a professional inspection is the right next step. Call (855) 360-8094 for a free estimate.
No. A musty smell can come from a wet filter, a condensate pan issue, or the evaporator coil, not only the duct interior. That’s why an odor inspection follows the source to the origin rather than starting with cleaning. A burnt smell is different and is urgent. Call (855) 360-8094 to get the source traced before deciding on a scope.
A single room that’s drifted off the rest of the house usually points to a supply run problem: a leak, a disconnected section, or a sag that has cut airflow. In Salinas, where cooling season is long and duct joints in older homes work through a lot of cycles, this is one of the more common early signals. The fix is usually resealing or repairing that run. Call (855) 360-8094 for a free estimate on the inspection.
No, not at the level that matters. A shop vac pulls as much dust into the room as it captures, which can make indoor air worse for a few hours and doesn’t reach the interior duct surfaces. Professional cleaning uses negative-pressure containment and HEPA-grade filtration. If you’re doing this to address a health or safety concern, the equipment choice is the whole point. Call (855) 360-8094 to book a professional clean with the right equipment.
Yes. A damp grille or a water ring around a register means a supply duct is leaking cold air into a warmer space. Salinas humidity makes those drips show up more than they would in a drier climate, and consistent moisture turns an airflow issue into a microbial issue. Get it inspected before the next warm season. Call (855) 360-8094 for a free estimate.
Early signs are quiet: a small temperature drift, an uneven filter load, a faint odor when the system first kicks on, mild symptoms in one room. Late signs are visible: dust on registers, standing water, heavy debris, strong smells at every register. Early signs give you a smaller scope of work. Late signs turn into remediation scopes. Call (855) 360-8094 and we’ll tell you which category your home falls into.
The Bottom Line
The early warning signs of a duct problem are easy to miss because they’re small: a room that’s drifted a few degrees, a filter that bypasses at the frame, a musty smell that shows up when the system first kicks on. Those early signals point to resealing, a targeted repair, and a clean. Late-stage signals like visible dust on every register, standing condensation, and strong odors across the whole house point to a much bigger scope. You don’t need to diagnose the problem yourself, but you do need to recognize when it’s time to call. For a professional-grade inspection and a free estimate in Salinas, call Duct Cleaning Salinas at (855) 360-8094. We answer 24/7. Fast dispatch from 7am to 7pm, Sunday through Friday.
Written by the team at Duct Cleaning Salinas.